I recently finished up a digital transformation for an existing customer with all the trimmings on their desktop and laptop PCs, and thought that I did a fantastic job. That was until they told me that they needed to get data off their old machines, and run some business software from their old machines until we could get the applications migrated.
“No big deal, we can power the machines on, put them on a separate VLAN, let them talk to each other, and copy the files off that they need,” I thought to myself. It’s never quite that easy, though. They have their QuickBooks running on a 12-year-old Windows XP machine, somehow. All of their administrative documents? You guessed it! The scheduling system from which they’re migrating? Yup, that’s hosted on there too.
But in typical fashion, this Dell desktop that they used is a behemoth. I don’t mean that it’s a powerful machine. It is a 12-year-old Windows XP machine, after all. It’s big. It’s loud. It probably uses a ton of energy, certainly more than my laptop does. So since I didn’t want to leave a physical tower laying around running and chewing up power, virtualization comes to the rescue!
Setting up my local environment
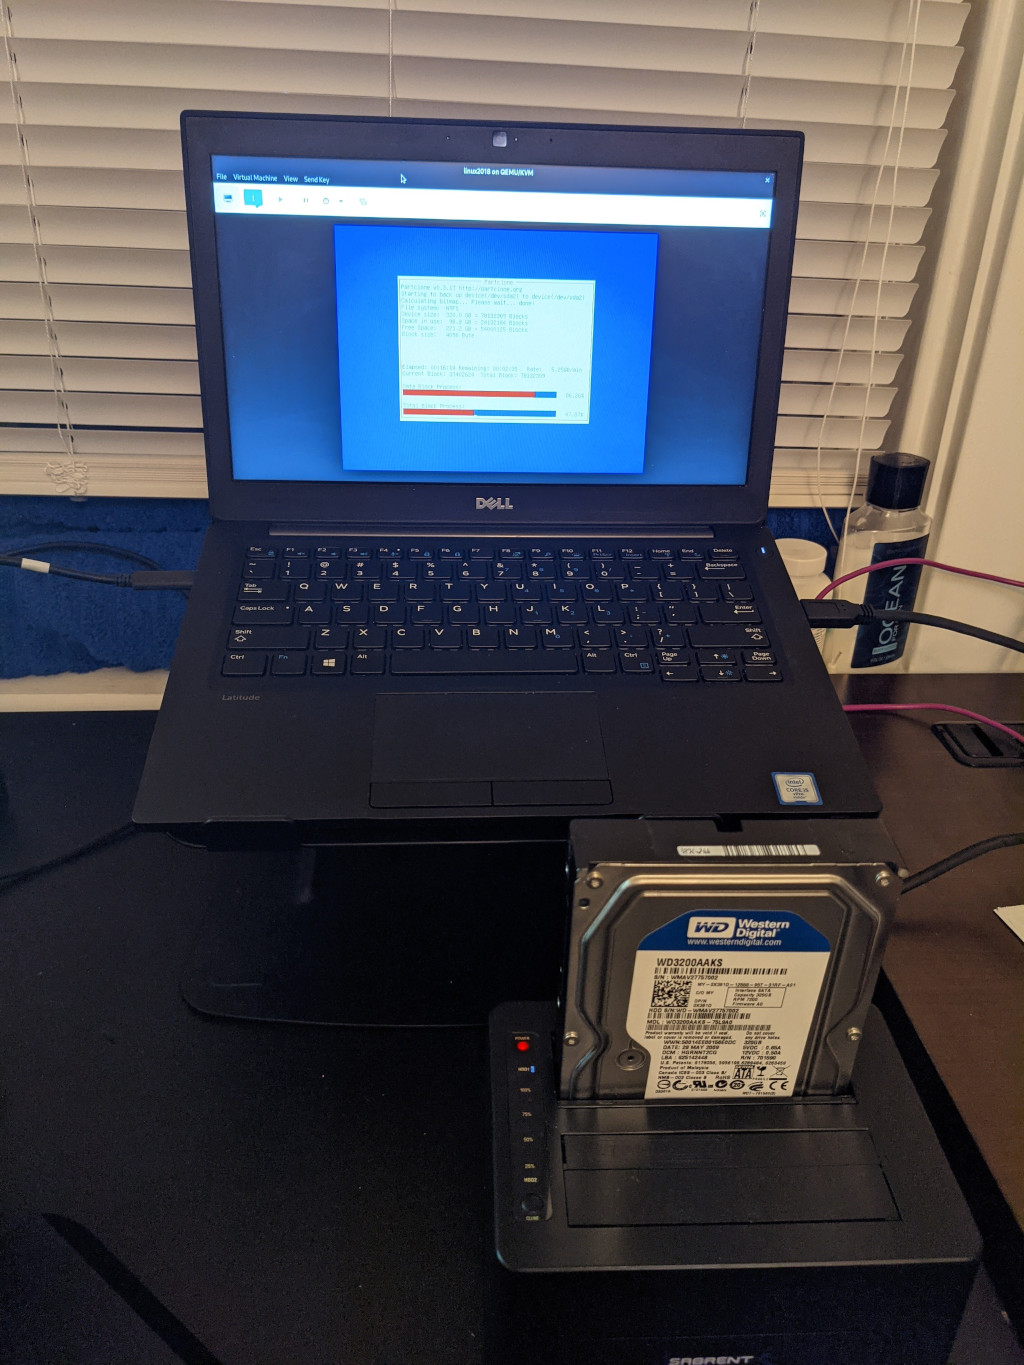
Since I knew that this was going to be no small task, I decided to go straight to my beater laptop, a Dell Latitude 7280 that usually lives in my backpack. It’s no stranger to running various virtual machines within Gnome Boxes, Citrix Workspace, or remoting to systems in Remmina, so I let this little silent laptop do this morning’s heavy lifting.
I knew I was going to need some tools, but I had most of what I needed already, thanks to Fedora Workstation shipping with Gnome Boxes and its underlying libvirt. Knowing that Gnome Boxes wasn’t going to hit quite the niche use case that I had for this system, I decided to instead install virt-manager on my machine and build the virtual machine that way.
sudo dnf install -y virt-manager
Creating the virtual machine
The first thing I had to do was create a disk image on which we would place the contents of the existing hard drive. Through trial and error, I learned that we will need to create an image as large as the capacity of the full hard drive, not just the used space thereon.
qemu-img create -f qcow2 ~/Downloads/someOldComputer.qcow2 230G
Once the image was created, I needed to find a way to clone the physical drive to the image we created. The easiest method I could come up with was to simply use a CloneZilla Live ISO, and mount both “drives” (one physical, one virtual) to the VM.
But in order to get the physical drive into the virtual machine, I have to connect it to my laptop. I broke open the desktop PC, ripped out that SATA hard drive, and took out my hard drive “toaster” to connect it to my laptop.
Once I plugged it into my laptop, it showed up in Disks as /dev/sdb, with two partitions: the a 41MB FAT boot volume and a 320GB NTFS volume. This is as vanilla of a partition table as I could ask for.
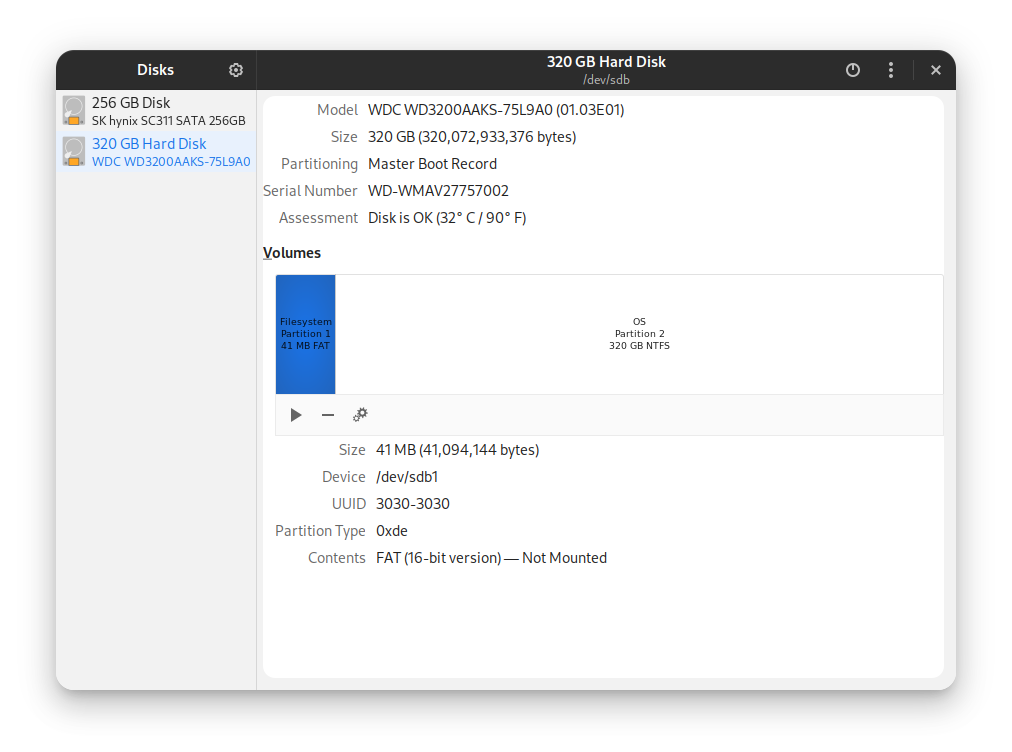
Underneath each of the two partitions (/dev/sdb1 and /dev/sdb2), I clicked on the small “stop” icon, which unmounted the volumes from my local machine. This was vital, since virt-manager will be expecting these to be available as block devices, not filesystems.
So once I opened up virt-manager, I created a new VM.
After a bit of tinkering, this is what I found as the secret sauce:
- Operating System: Generic Linux (2018)
- vCPU Allocation: 2
- Memory: 2048 MiB
- VirtIO Disk 1:
/home/nick/Downloads/someOldComputer.qcow2 - VirtIO Disk 2:
/dev/sdb - SATA CD-ROM 1:
/home/nick/Downloads/clonezilla-live-2.7.1.22-amd64.iso
This is enough to get us started. We won’t need networking or any of that silliness to just do the drive clone.
Once you have the devices built out, go to the boot options and make sure that the CD drive has precedence. In my case, it looked like this:
- SATA CD-ROM 1
- VirtIO Disk 1
Network(I have a PXE server in this environment, and I don’t want to wipe this machine to install a clean environment.)VirtIO Disk 2(We don’t want to boot off the drive that we’re cloning. We simply want it available to CloneZilla to copy.)
I also enabled the boot menu, just in case. But once I powered on the VM, it went right to the CloneZilla splash screen. After picking my language and keyboard layout, we were off to the races.
Though it may seem counter-intuitive, our choice here is a device-device clone, since the virtual machine sees the hard drive as nothing more but a hard drive.
This is the part where we have to be super careful, because if you do this backwards, you have a brick for a hard drive. Slow down, do it right.
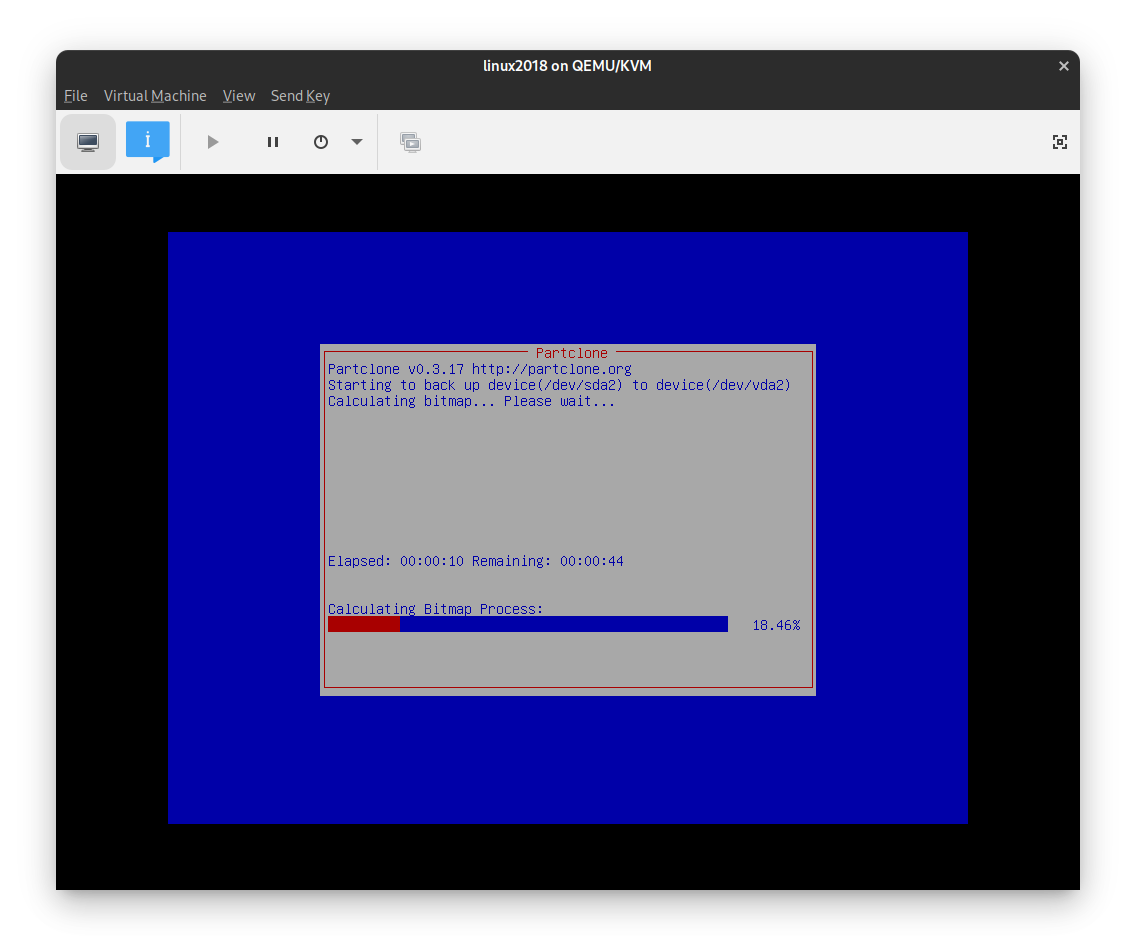
When prompted, I just chose the beginner mode, since I don’t need anything special on this clone. For my source drive, I used sdb. For my destination, I used vda. Again, make sure that your source and destination drives are what you expect them to be, otherwise your day will get very bad, very fast.
After CloneZilla basically told me to confirm a thousand times, it started doing the partition and block copies.
Once the process was finished, I powered off the virtual machine, undocked the hard drive, and moved on with my day.
Changing the virtual machine to be ready for Windows XP
I never thought when Windows XP came out in 2001 that I would be supporting it twenty years later, but here we are. Also, if Windows XP is twenty years old… wow, now I feel old.
Anyway, now that we have our disk image created, it’s time to create a virtual machine for Windows. While we can absolutely reuse a number of things from the CloneZilla VM that we created, I’m personally more of a fan of starting fresh, especially in virtual environments.
Before you do this, go to the VirtIO repository and download the Windows drivers ISO image.
In virt-manager, I went to File > New Virtual Machine. When it asked how I wanted to install the operating system, I chose Import existing disk image, and picked the qcow2 image that I created earlier in this process. It also asks what operating system you are installing, which provides a nice baseline configuration for a lot of common setups. Enter winxp in the search field. If you don’t see it, you might need to check the box that says Include end-of-life operating systems to get it to show. I gave my VM 2048 MiB of memory and 2 vCPUs. On the final screen, I selected to customize configuration before install.
A few quick-hitters of things that I chose to ensure that I didn’t hate my life down the road:
- Chipset:
i440FX - Firmware:
BIOS - Disk 1:
SATA, using your qcow2 image - CD-ROM:
SATA, using the VirtIO ISO image - NIC:
virtio - Sound:
ac97(if you even care about this)
Once I started the VM, I was incredibly surprised by the fact that it didn’t promptly slam itself into the ground.
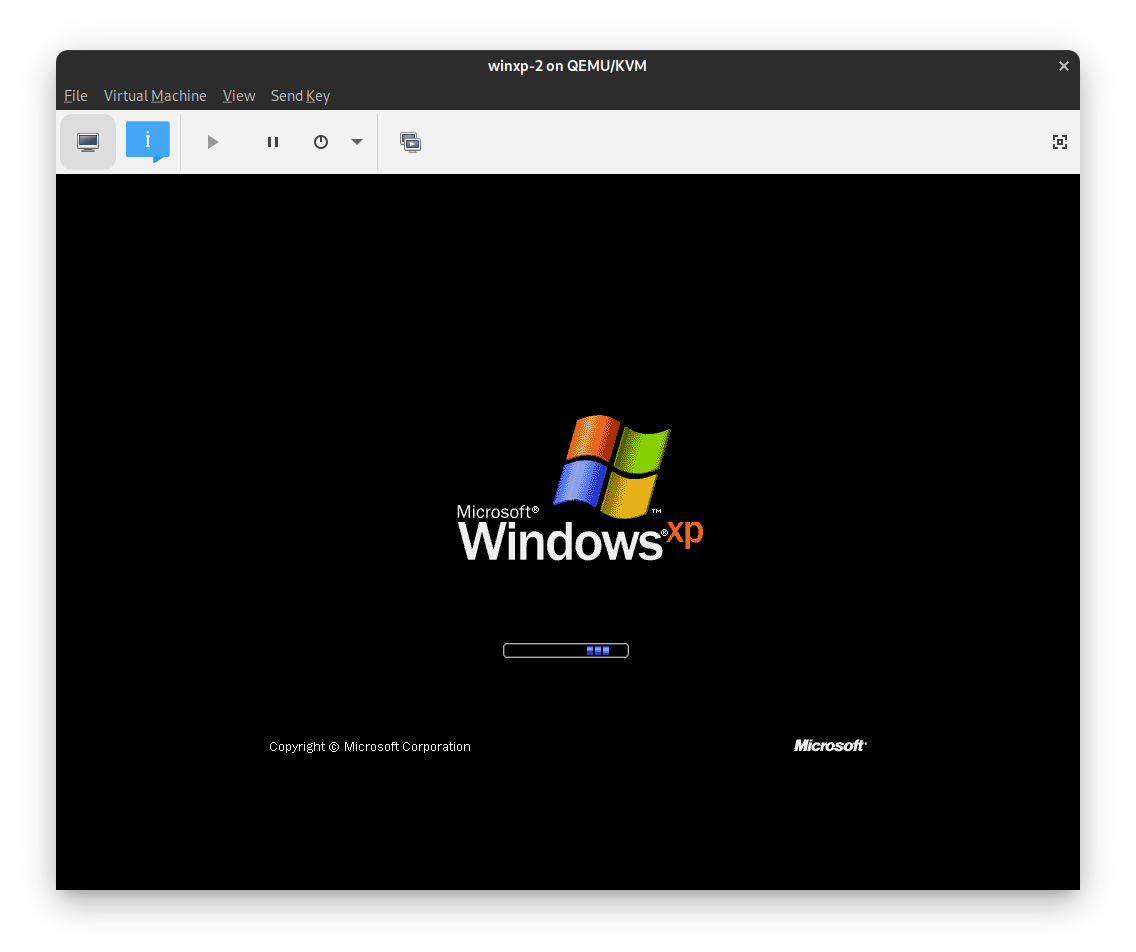
Once you log into Windows, the fun is just beginning.
As soon as Windows realized that the underlying hardware changed as drastically as it would when going from the body of a Dell Vostro to that of a slim virtual machine, it had an absolute freakout over software activation. And since Windows XP is out of support, we can’t very easily call their customer care center or even reach out to their activation servers.
There are a couple registry hacks out there that sorta-kinda work, but not really, to disallow Windows from being able to activate. By this point, Microsoft has seemingly gotten hip to all of the registry games, and none of those worked for me. But what I did find was what seems like a completely legitimate key generator, that allows you to follow the telephone activation flow.
Once I logged on as a local administrator, it told me that I had to activate Windows or be logged out immediately. I chose to activate, and used the key generator to get my activation code. It thanked me for activating and using genuine Microsoft software, and I was on with my day.
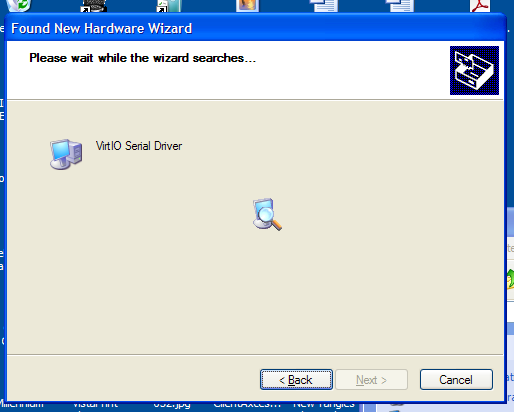
Welcome to driver hell.
So, the reason I had you mount the VirtIO Windows guest tools CD is so that the zillion or so “Found New Hardware” wizards quickly realize that anything that it might need are on the CD and automatically install. And since the guest tools don’t actually run on Windows XP (I think that it requires Vista or 7 as a minimum).
Most everything should come up and work on the new virtual machine as it did in the past. The one device with which I had to play a bit of whack-a-mole to find the right driver was the audio card, and that posted as a standard Intel AC97 once I had virt-manager expose that to the guest operating system.
So, what about the customer? Didn’t you do this for them?
I did. My normal plan with granting a customer access to their legacy computers is to add the legacy computers to our RMM platform, give them a user account thereon for remote access, and away they go.
Unfortunately, my RMM tools require Windows Vista as a minimum, and we’re a version shy with Windows XP. One of the other remote access tools I use is Splashtop Business, which somehow surprisingly still supports Windows XP with their streamer. I was off to their website and made a quick purchase to make my life easier.
Once I did that, I was able to remote to the customer’s brand new Windows 10 machine and get the Splashtop Business app installed thereon. Now, they are accessing their “old computer” from the comfort of the virtualization environment on my laptop.
You need your laptop up to serve a customer? What?!?
Yeah, it’s not ideal. Next logical steps are to migrate this virtual machine either to a Proxmox VE environment, which allows us to keep all of the KVM innards, and hopefully not run into any additional driver and activation hell. But even if we do, we have our ways through it from this article.
If we absolutely have to use VMWare ESXi due to resource constraints in my existing Proxmox cluster, then we get to do a KVM to VMWare migration, which doesn’t sound like it’s going to be super pleasant either.
The high level to-do list
- Back up the critical customer desktop
- Restore the customer desktop so that it is workable
- Provide the customer with access to their stuff quickly
- Create a more permanent place to do stuff like this
- Move this desktop to the more permanent place
In conclusion…
It was a fun early morning of coding and configuring, and have definitely come up with a pattern to help customers in similar scenarios moving forward. Here’s to hoping that we don’t have to deal too much with relics like Windows XP, though.